Ready… Set… GROW! Isn’t it so exciting in the Spring to literally “Dig in” on all the garden clean up. I love when the days start to feel warmer and the birds sing louder and little green sprouts start popping up in all the beds after a long winter. It’s time to dig out the garden tools and get those beds back in shape! Garden cleanup in the Spring is essential to a beautiful garden in the Summer. I’m always more than ready to get out there and give attention to each and every plant early in the season, which is ideal actually because a lot of times I lose steam come the middle of summer. So let’s get right to it…here are my 5 Steps to Prepping Your Garden Beds for Summer.
*This post contains affiliate links

I love new garden tools! It’s kind of like buying a new exercise outfit… it’s bound to make it more enjoyable! I will surely share all my fun garden tools with you in this blog post 😉 .
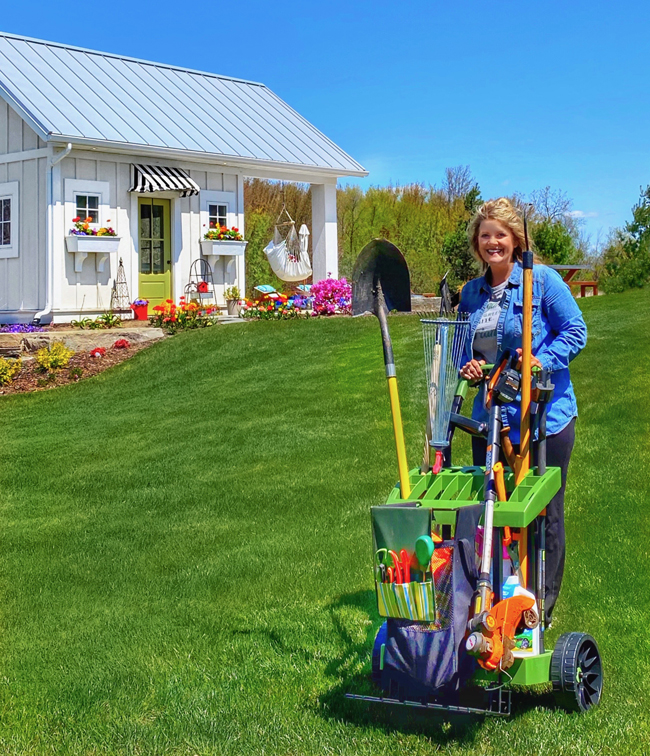
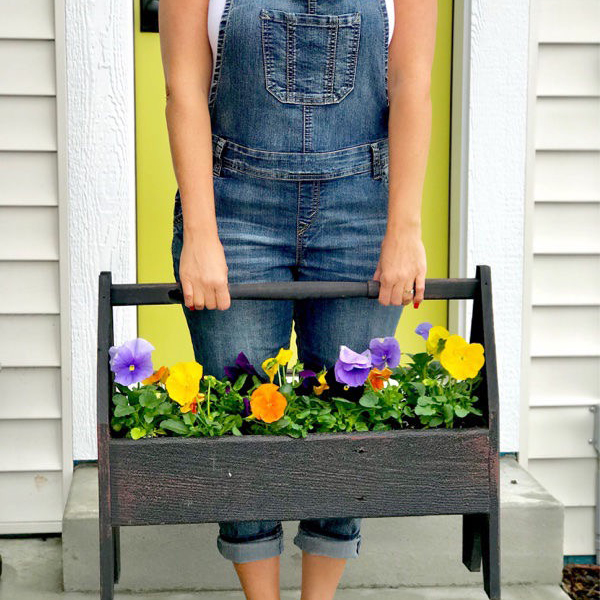
The first one is my garden cart that holds all my tools so I can haul them around the yard easier. It literally holds every garden tool I need!
Okay, tools are ready…
Step 1. Cleaning up the beds
Trim off all the dead foliage from last summer if you hadn’t done that in the Fall. Some plants can easily be broken off by hand and others require a pruning shear or hedge trimmer.
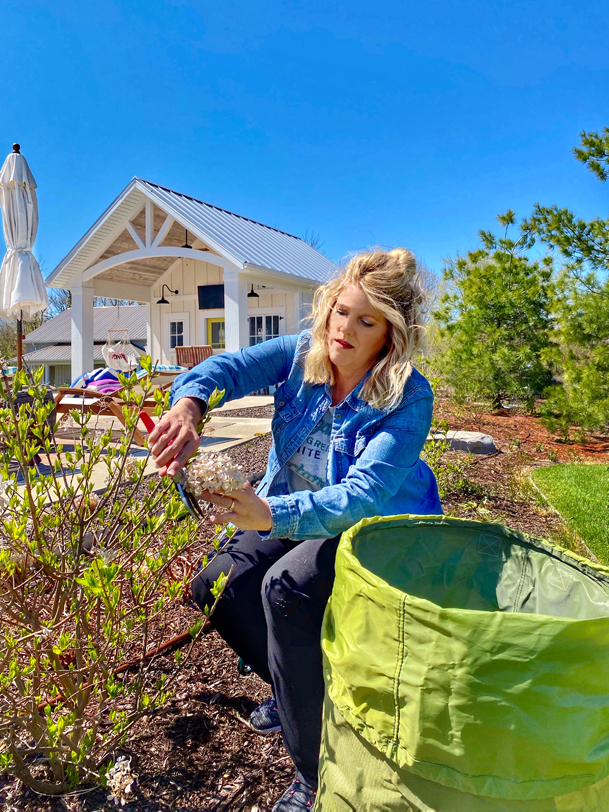
Next you’ll want to weed the area. The quicker you get rid of the weeds the better. The key is to remove the root system, or they will grow right back. I have several tools I use for this. The Cobra for areas that have a lot of weeds with shallow roots. A small fork tool for removing smaller single weeds, a serrated shovel that digs deep for larger weeds and a 4 claw weeder for when your back hurts!
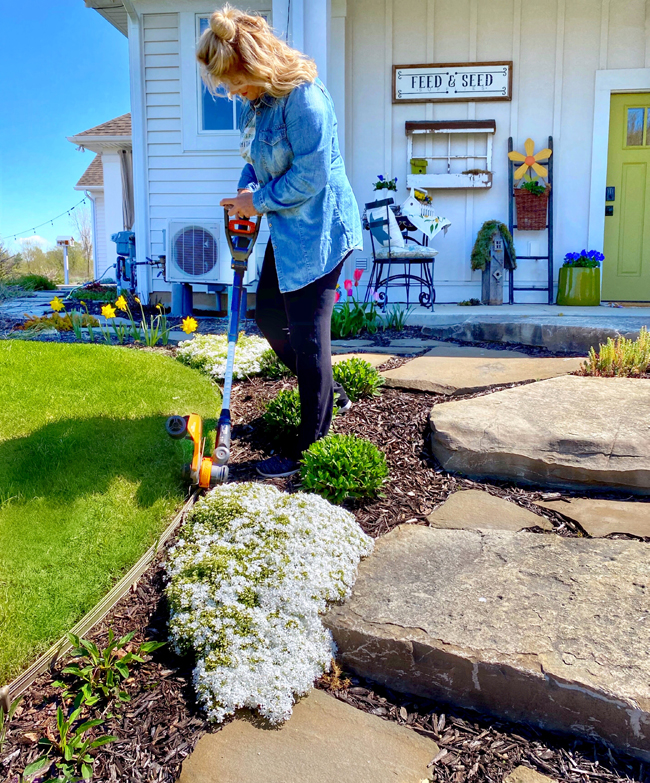
I just love seeing a clean edge that separates the garden from the yard, so when edging I love to use my battery operated edger for the outer edge of the beds to give them that finished look.
For the inside edge of the bed I love to use a tool called Quik Edge to get all the grass out that has creeped in.
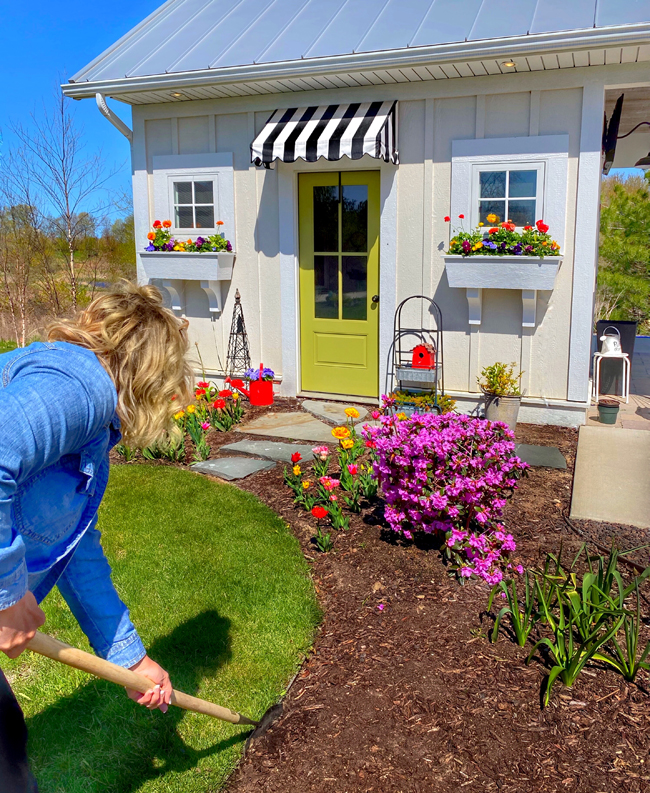
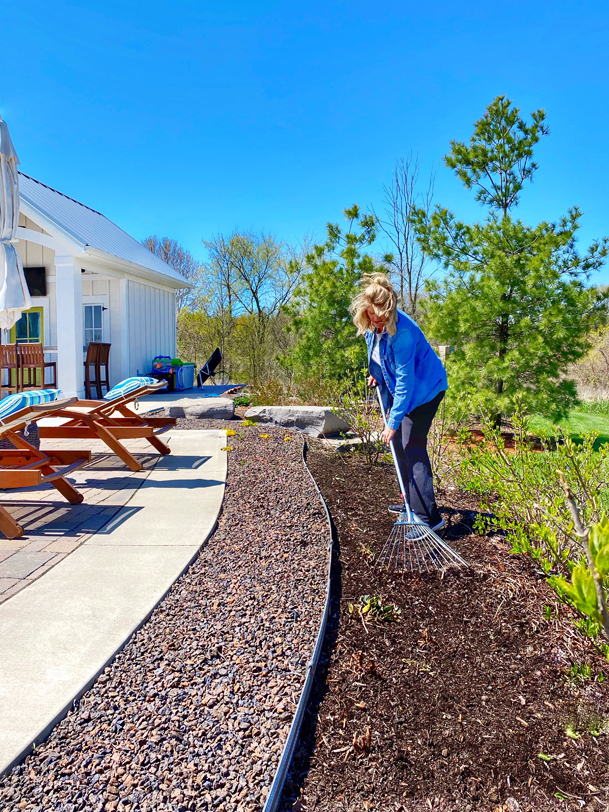
The final thing I do when cleaning out a bed is rake the area of access debris being extra careful to not harm tender shoots coming up. An adjustable rake works so well for this, it also makes it look so nice and clean when finished.
Step 2. Plant/Transplant/Divide
Spring is a great time to plant up new shrubs, perennials and even some cold hardy annuals. It’s a fun time of year to visit the garden centers to see what’s blooming. Also, just driving around in the Spring you’re sure to see plants that catch your attention and know just the place you’d want to add them to your garden.
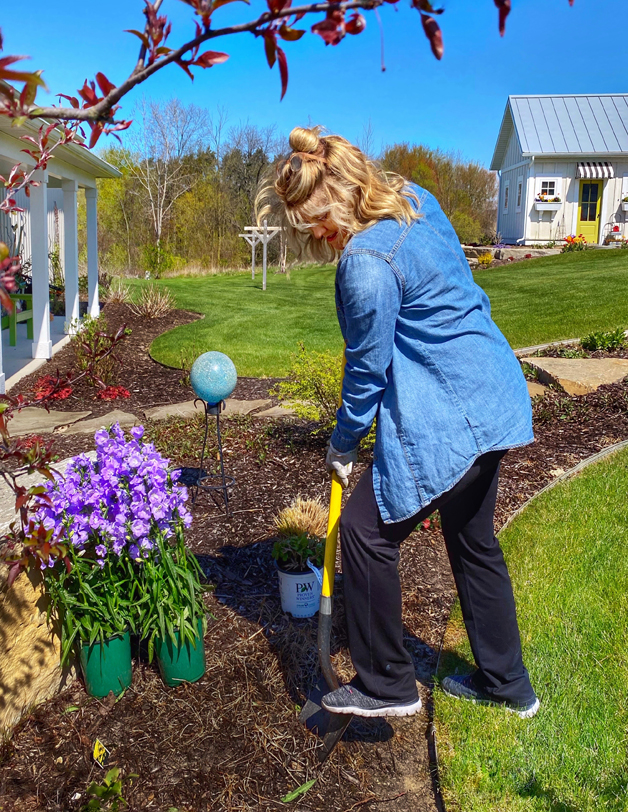
While rockin’ out your 5 Steps to Prepping Your Garden for Summer, you’re bound to see those areas that are in need of changing. Whether it’s a plant that has never done well in a particular spot or a plant that’s doing amazing, it’s a perfect time to move it around. Do a little research on the plant that seems to be struggling, does it like well-drained soil and it’s planted in a wet area? Does it possibly need more sun? Move it to a new spot that fits those needs. Maybe a plant is thriving… divide it up to fill in an area or move a piece of it to a similar spot that just needs a little something.
Step 3. Plant care
Time to revitalize the soil. It’s always a great idea to add in some organic material like compost in the Spring, your plants will be so happy. They would also benefit greatly from a good dose of fertilizer. I prefer to use organic fertilizers. The Espoma line has lots of options for different types of plants… Trees, shrubs, perennials or annuals. Whether foliage plants, evergreens, acid loving or heavy bloomers, they’ve got you covered. Holly-tone will be used for all your acid loving plants like Hydrangeas, Azaleas, Rhododenrons, Holly bushes and other evergreens. Plant-tone will be used for the majority of your perennials, and Flower-tone for the annuals.
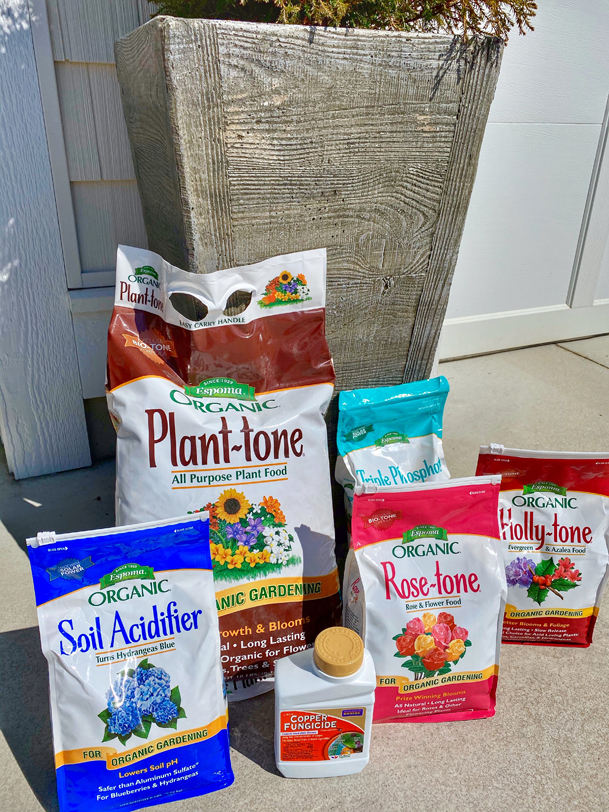
Trouble shooting is also a great idea. I like to keep track of the plants that I’ve had trouble with, those that tend to get powdery mildew, bugs or other issues. There are products that can help prevent these issues before they start, it’s always more successful to prevent the problem rather than trying to get rid of it after the fact. There are several all-in-one type products that will treat all three, so I make sure to get that on right away in the Spring.
Step 4. Mulch
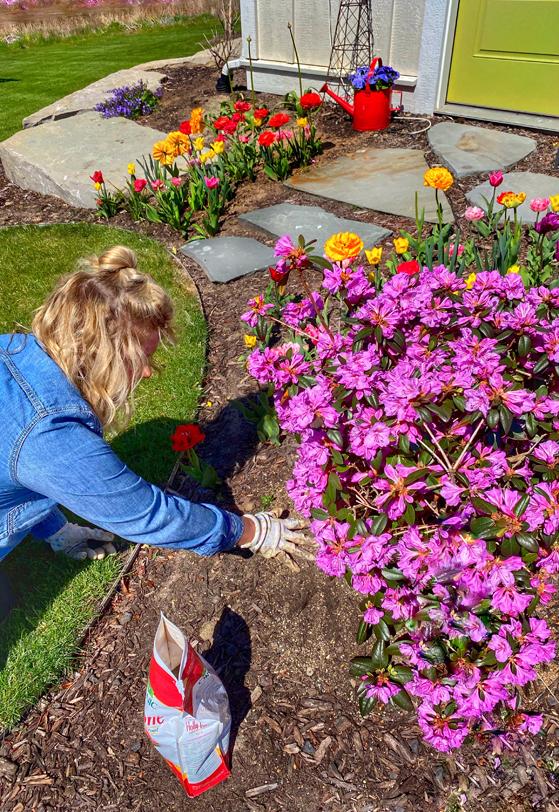
One to three inches of organic mulch can keep weeds at bay while slowly releasing nutrients back into the soil. It also keeps the soil from drying out and sure makes the colors of the plants pop. There are several different types to choose from… woodchips, shredded bark, pine needles, etc.

Preen is also something I like to use in my paths and around the edges to prevent weeds from reseeding. It’s perfect to pair it with whatever mulch you choose.
Step 5. Journaling
5 Steps to Prepping Your Garden Beds for Summer … ends with journaling as the final step. I love keeping a garden journal, it helps me with remembering everything from what plants will need to be moved, what ones struggled with powdery mildew, what I planted where, as well as a place to keep tags describing each plant.
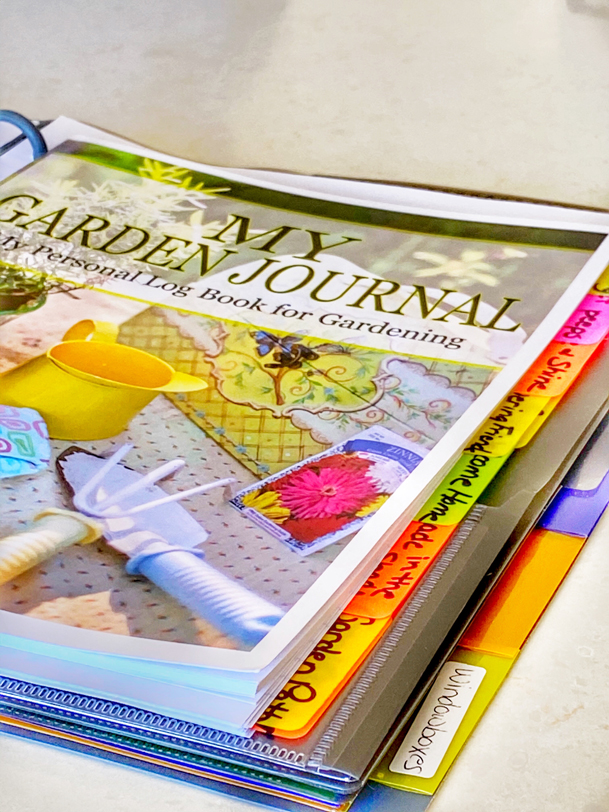
I just bought a 3 ring binder and added tab sheets that had pockets. The section that describes each bed has lined paper as well as draft paper to draw out the bed and list the plants. I also keep a section for bloom times…walking around several times during the month taking notes on what is blooming when. It’s nice to refer back to when considering a plant for another area, always wanting to keep track of what seasonal color you have and what might be missing.
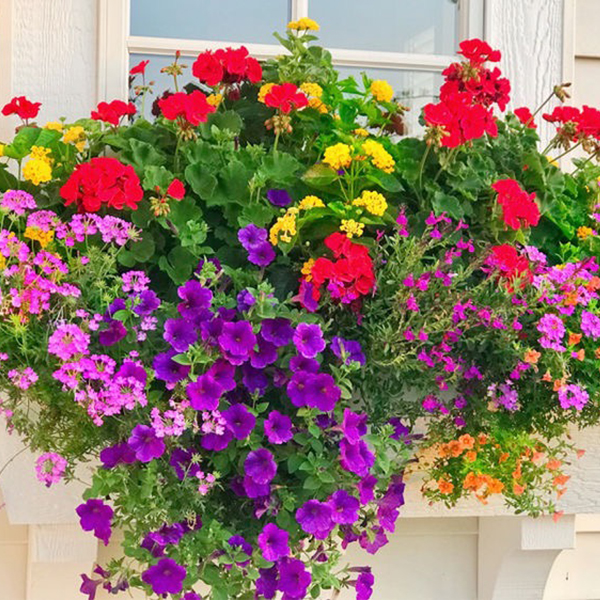
I also keep the tags from the recipes I create when planting my containers and window boxes. So handy for referring back to each new planting season.
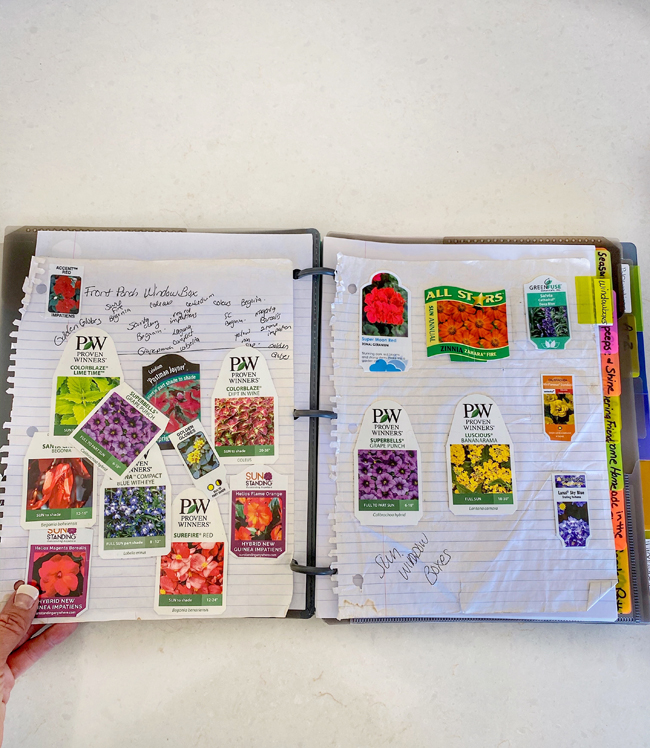
I enjoy naming my garden beds and having a section in my journal for each one. Recording when each plant starts emerging as well as when it starts blooming and maybe which ones should be moved that aren’t doing well. Pictures are also fun to add to the journal as well as tips, tricks and campanion plants for each new plant added. This year we hit a really cold snap again early in May. I had recorded in years past what plants were really affected by a frost/freeze and made sure to cover those. You will be so glad you recorded all these little details, it really makes for a great summer in the garden.
So there they are … 5 Steps for Prepping Your Garden Beds for Summer! It feels so good when they are all ready to go…or GROW! 😉 Happy Gardening sweet friends!
I’m so excited to intoduce you to a few gardening friends of mine listed below, I sure hope you’ll hop on over for a visit.




How did I not know you had a blog?? So glad I do now! 💛🌸
So grateful you found it… hope you enjoy it!