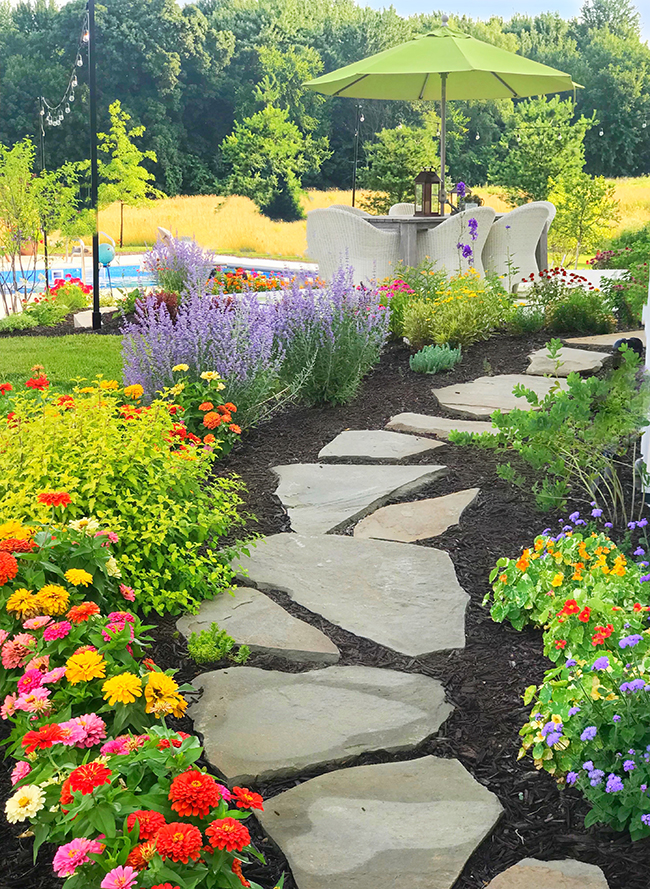
How excited are you to finally be Preparing to Plant a Perennial Garden of your dreams?! If you haven’t read the 2 blog posts prior to this you might want to take the time to do that now…The first one was… 3 perfect places to plant a perennial garden.
*This post contains affiliate links
It includes lots of options to consider when deciding where in your yard would be the perfect spot for your flower bed. The 2nd one was Designing a Garden for Non-stop color.
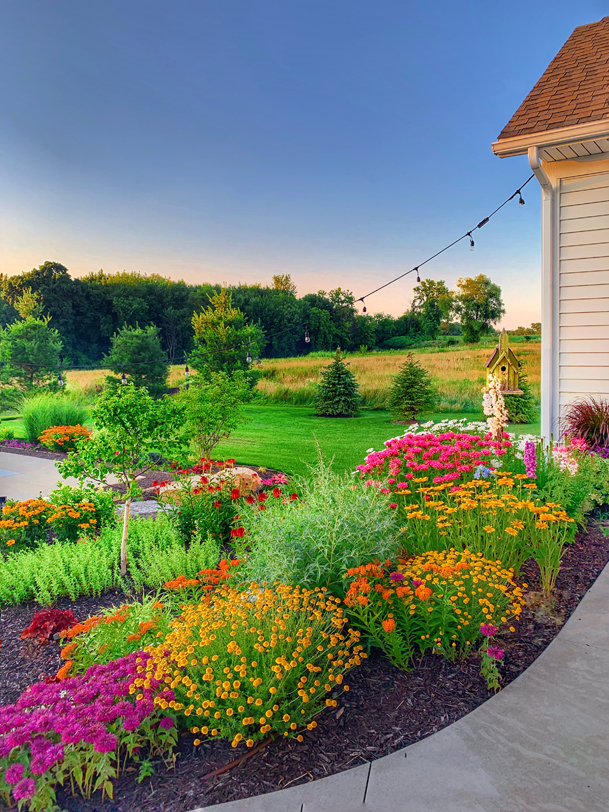
If you have been following along and you have found the perfect place for a new perennial bed and have designed it for non-stop color, the next step… Preparing to plant a perennial garden!
This 3 step process includes-
- Prepping the area
- Purchasing and Positioning the plants
- Planting the plants
PREPPING THE AREA
I talked in the last blog post about laying out a design with a hose to create the shape that you want for your new bed.
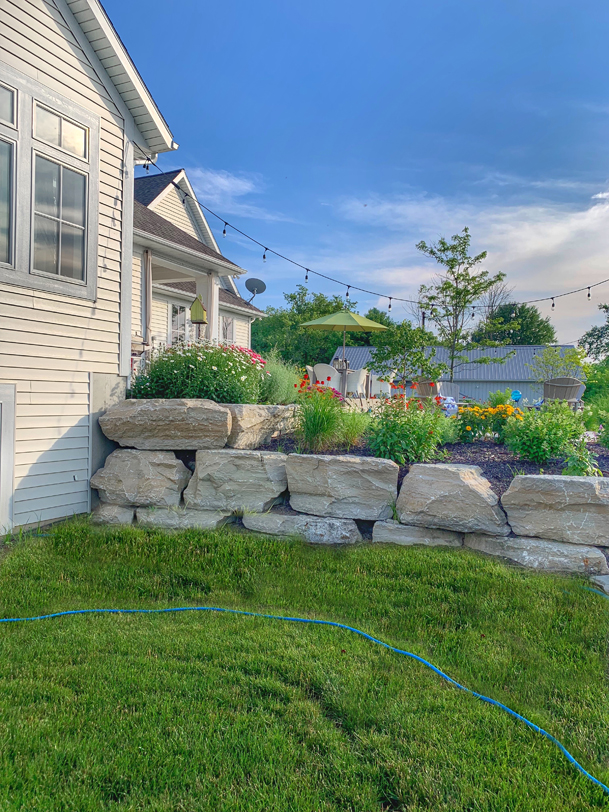
You can also use spray paint or use a longer outdoor electrical cord to create this design. Something that will help you cut out the shape with an edger.
My favorite way to do this is by using a sod-lifter.
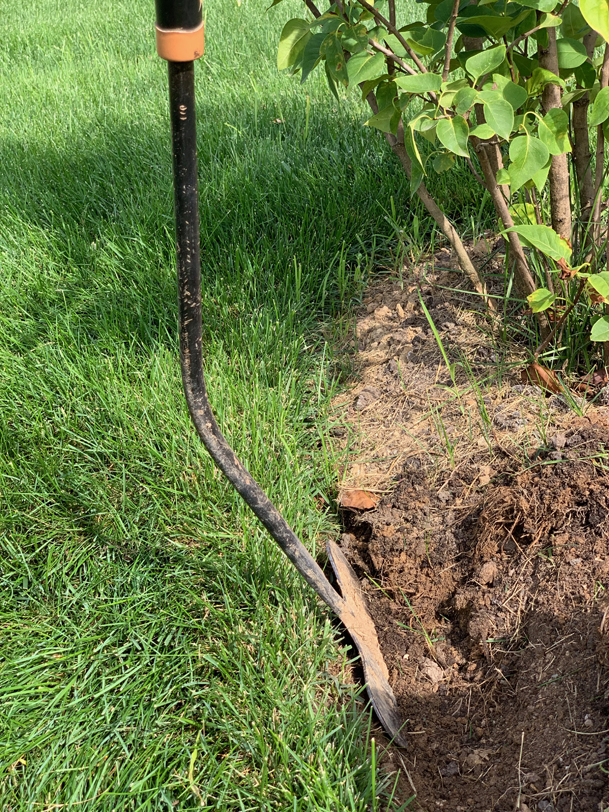
After creating your edge, you can choose to use several different forms of edging to keep out grass or just keep the edge clean with a deeper angled edge with your edger.
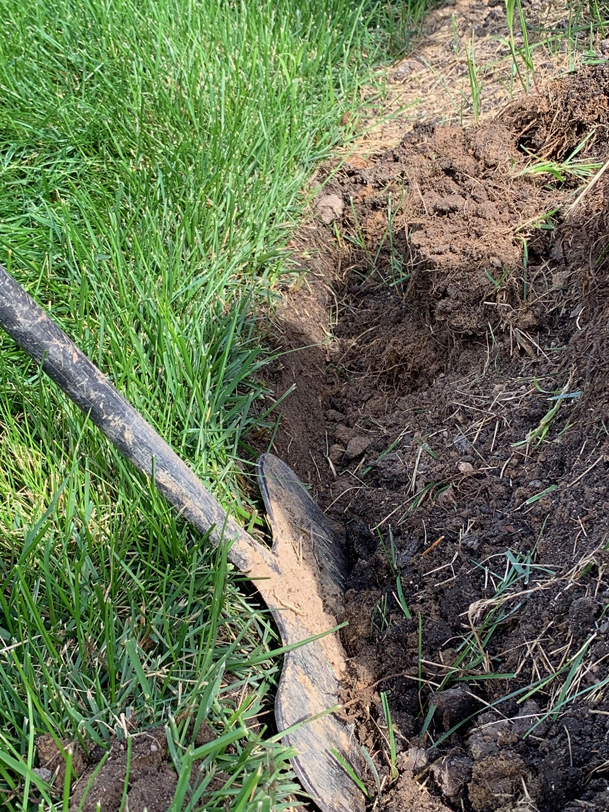
After creating the edge to your bed you will need to remove the sod. Either by hand with the sod-lifter or renting a sod-remover. If you’re not in a hurry you can prepare the bed in the Fall for Spring planting by placing newspaper over the remaining grass and cover it with compost. Then in the Spring the grass will have died and the compost will have started to mix with the existing soil.
Whichever way you choose, the soil is best prepared by adding a good layer of compost, at least 3 to 6 inches deep. . I usually order a few yards of compost (depending on the size garden you’re putting in), from our local garden center, and they deliver it. If it’s a smaller area, the compost can be purchased in bags at any Home Depot or Lowes. The compost should be worked into the existing soil by working the top 10 inches or so with a shovel or a rototiller. The area is now ready for positioning your plants.
PURCHASING AND POSITIONING THE PLANTS
I am a huge lover of the garden center..any and every garden center! I just love shopping for new plants. We have a wide variety of plant centers around us, from Garden centers to Nurseries, there’s lots to choose from. However I’ve also ordered many plants right online, there’s many great online resources. My favorite is Proven Winners, that’s usually where I’ll go if I can’t seem to find a plant I’m looking for.
If you have designed out your bed and know the plants you want, the next thing I would do is to calculate how many of each plant you will need. I prefer to start with multiple plants per area versus one. It definitely creates more of a wave of color. Depending on if you purchase them in a quart size pot or a gallon size, keep in mind how much of an area you want that plant to take up. I might start with 4 or 5 gallon size pots in an area or up to double that for quart size. Each plant will tell you how far apart to plant them, but honestly I rarely plant them that far apart. I like it to all fill in sooner than later. Once you have purchased your plants, you are now ready to position them where you intend to plant them.
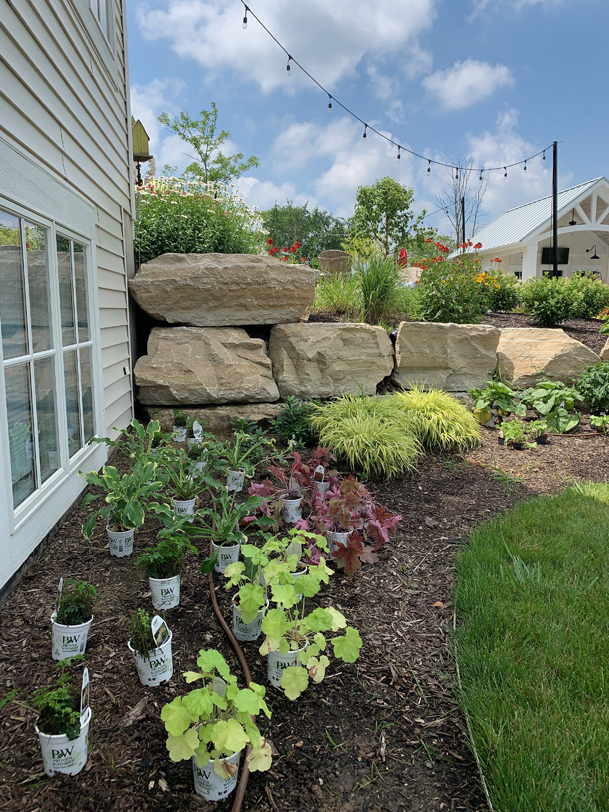
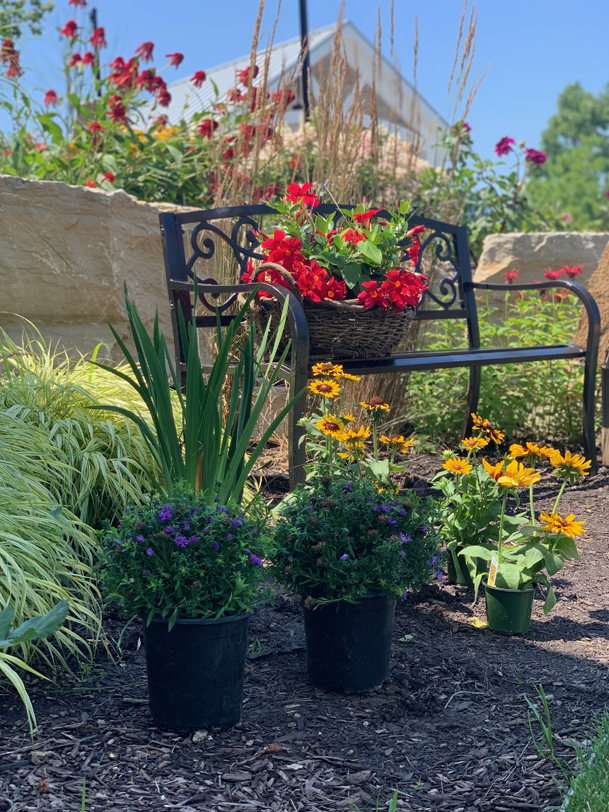
This is such a fun part, seeing the bed take place right before your eyes. You have made it.. You are literally Preparing to Plant a Perennial Garden!
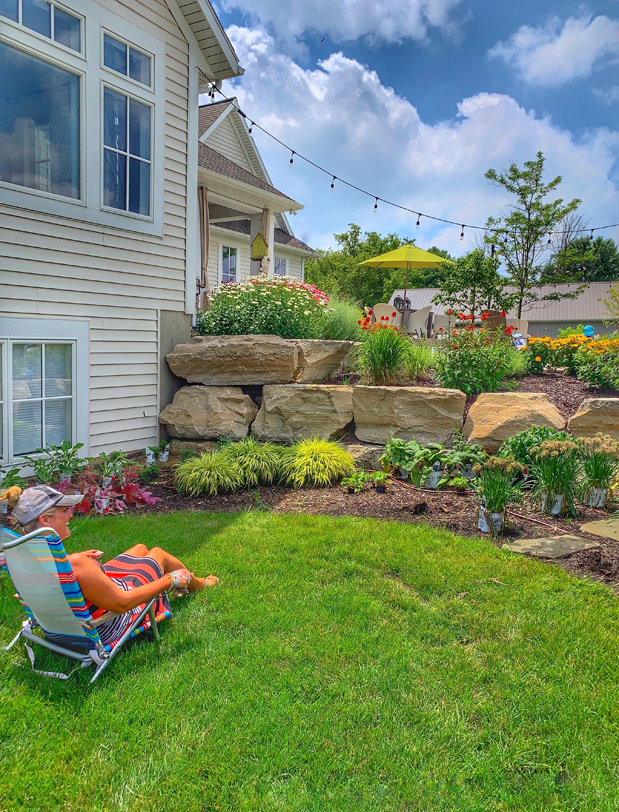
Planting the Plants
Here’s where it all happens.. You’re ready to give life to your design! Buy a cute pair of garden gloves and a good shovel and you are ready to get dirty. If you have properly prepared your bed with compost, and mixed it in with the surface of the existing soil, the planting should be fairly easy. It’s still somewhat time consuming but so rewarding to see it take shape as you go.
If the soil is fairly loose, digging a hole just slightly bigger than the plant root ball will be sufficient.
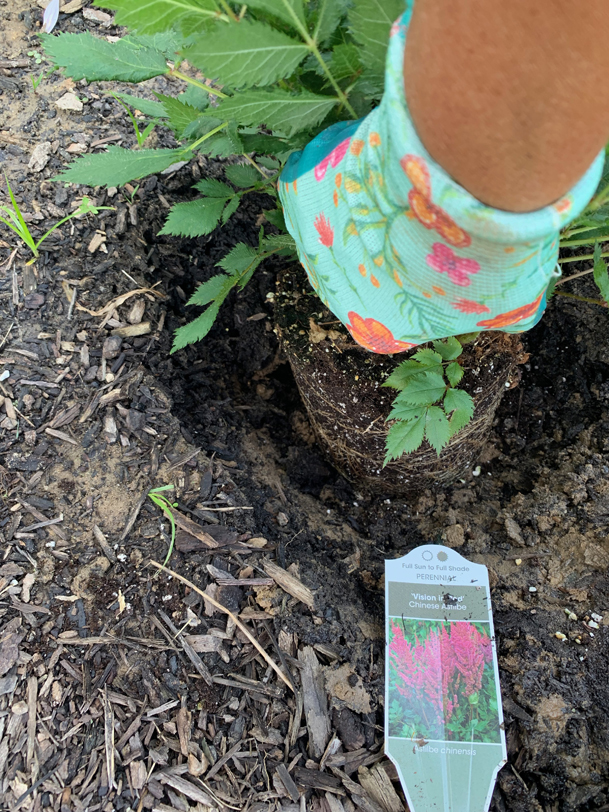
If the soil has not been loosened up you’ll want to dig a hole 1½ times the size of the root ball so that the roots can easily take hold in the soil. When removing the plant from its container, it works best to squeeze the pot while slowly tipping it upside down to release the plant catching it with your opposite hand.
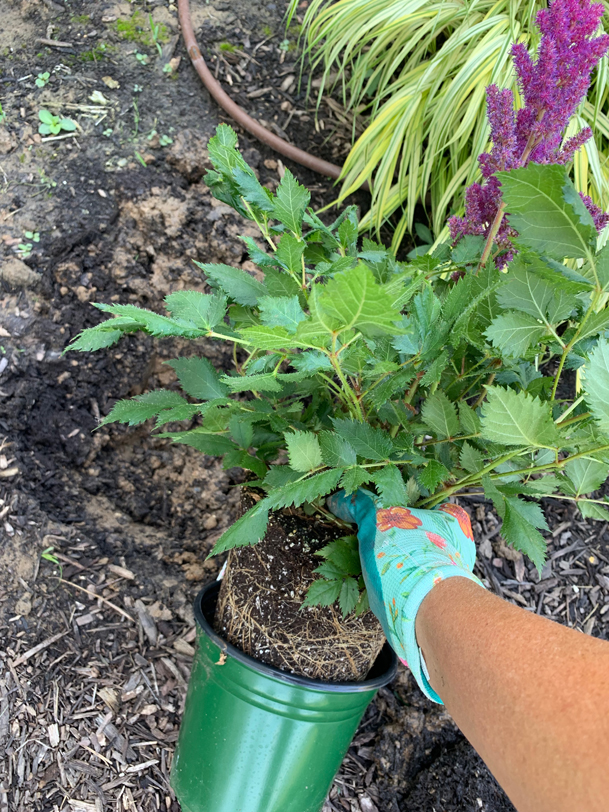
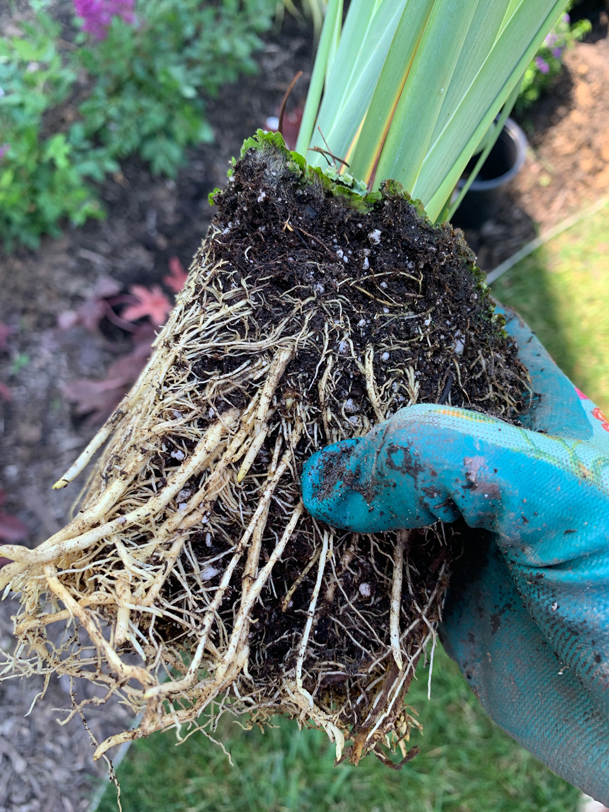
Before placing it in the ground, gently tease the roots to loosen them up so they can travel out instead of back around the root ball.
After placing the plant in the ground, fill in the rest with more soil, pressing the dirt down gently, making sure there are no air pockets around the root ball. After planting is complete, water each plant well. Ideally, putting in drip lines or some sort of irrigation makes for some pretty happy plants. The final step to planting is to mulch with bark or wood chips, to retain moisture as well as hinder weeds.
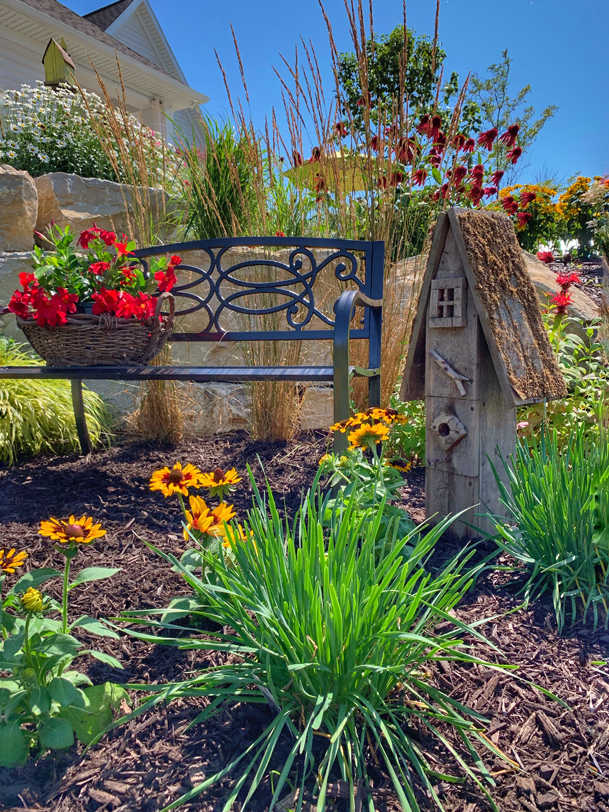
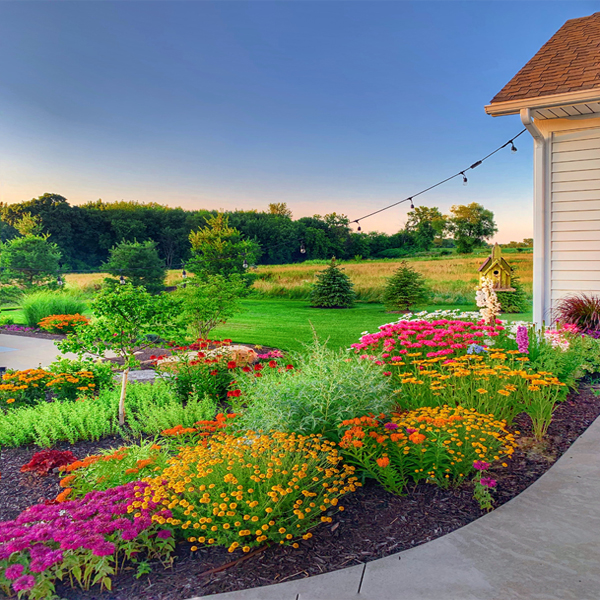
Preparing to Plant a Perennial Garden is no longer a how-to blog post or a design on a piece of paper, but rather a dream come true.
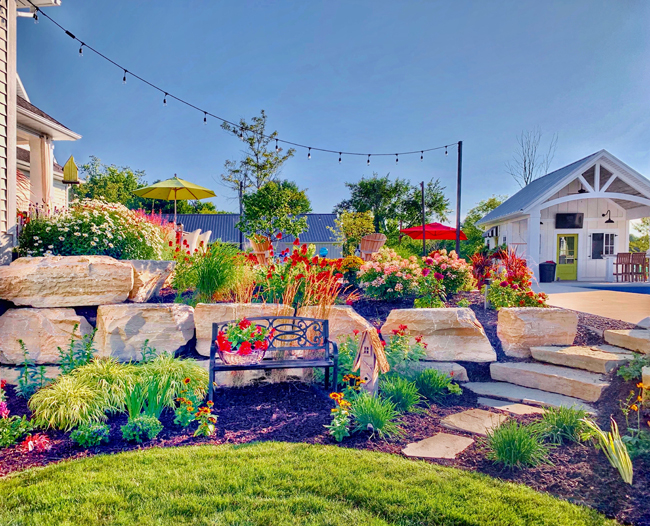
With some tender loving care ..(garden maintenance post to come) it truly is a gift that keeps on giving for years to come. So go put on those garden boots and get to work! 😉


This was wonderful! Thank you for so much detail! I have quite a bit of shade in my yard so I’ve struggled to find colorful flowers that will work but it will just take planning. I also really like how you prepare the soil. I live in NC and we have a lot of red clay in our soil. That could be a big reason my plants haven’t done so well. Thanks again for all the info! Your gardens are so gorgeous!
Great post and your flowers are amazing.
Tracy, thank you so much for sending me your blog! I’m a 74 year old grandmother who lives in Georgia and have enjoyed watching your Instagram videos. I look forward to your daily posts and adore your cute personality filled with laughter! You and your beautiful gardens are a breath of fresh air!
Carole Scales
Even I can follow this lovely game plan! As soon as it cools down a bit, I’m doing this! Can’t wait.
I just wish you lived near me!!! We would have so much gardening fun! I’ve been taking notes from this series. Great article, Tracy!!
Your hard works shows. What a beautiful place to sit with a glass of sweet tea. Hugs
Thank you so much.. love the sweet tea idea!